07 May 2014
by dinamariemoss
in Uncategorized


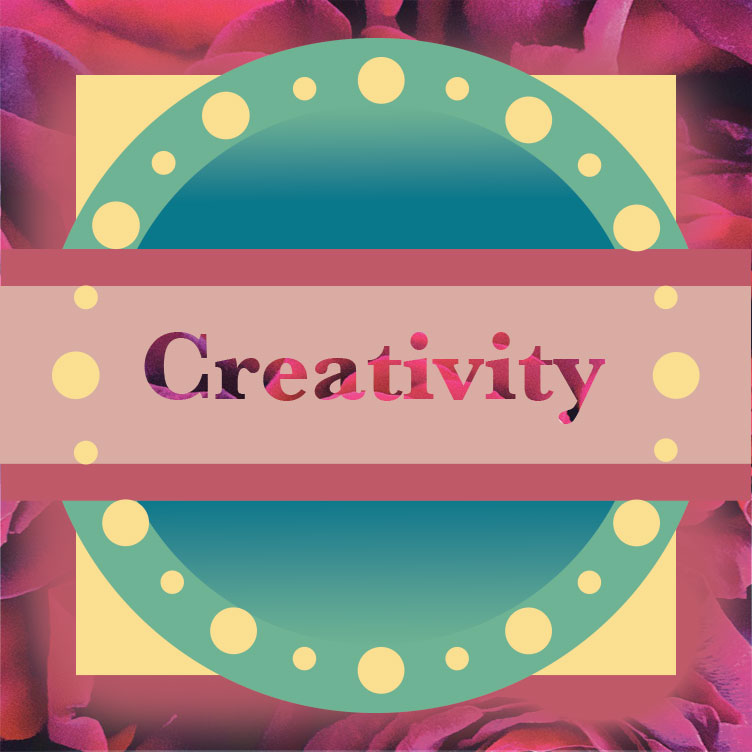
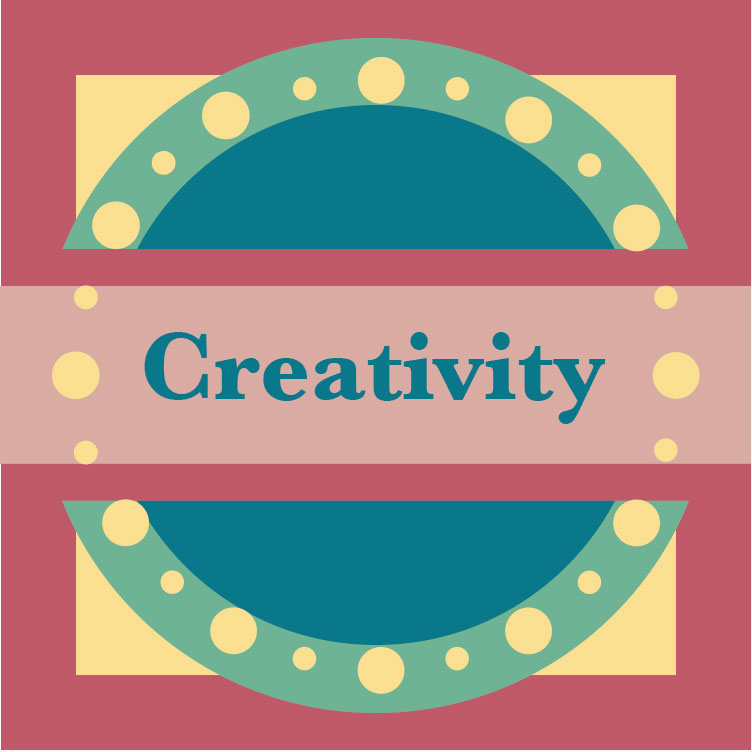
In this project we combined what we’ve learned with Illustrator with what we learned in PhotoShop. First I created the “creativity” file on top in Illustrator. Then I exported it to PhotoShop and continued working on it from there. As you can see I added a layer mask and used some extra gradient.
07 May 2014
by dinamariemoss
in Uncategorized

This is my final project for Adobe Illustrator. I decided to do an event poster for a wine tasting. I used mostly the pen tool to create a mojority on the shapes and objects. I used the circle tool to create the grapes. I used the mesh tool to create the different gradients on colors in the objects.
07 May 2014
by dinamariemoss
in Uncategorized


The pear project was meant to teach us how to trace an object with the pen tool. Professor gave us a hand full of ofjects to trace and tehn put together to form a pear. We each put out own spin with colors and gradients. The Pen Tools Line assignment was meant to teach us how to use the pen tool. We learned how to make straight, curved and rounded lines.
07 May 2014
by dinamariemoss
in Uncategorized

The 25 Boxes was one of the most time consuming projects that we did all year. I completed my 25 boxes before we learned about the pen tool so I mostly used a lot of shapes to create all of the smiley faces. I also used the gradient and the mesh tool to get different shades on color in the circles.
07 May 2014
by dinamariemoss
in Uncategorized

The Chile Pepper assignment was meant to teach us the basics of Adobe Illustrator. We learned text, lines, colors, fades, mesh and a lot more.
07 May 2014
by dinamariemoss
in Uncategorized

Sir Isaac Newton was the first to come up with the theory of the color wheel. It is simply a wheel based on three colors: red, blue and yellow. Since the color wheel was first developed in 1666, scientists have designed many variations of it. Color theories are what create a logical structure of color.
19 Mar 2014
by dinamariemoss
in Uncategorized


The two posts above were made on Adobe Illustrator. In class we first leaned how to use the basic tools on Illustrator by making the pencil. We mostly used the shape tool and color gradient to construct it. We also used the white arrow tool to move and re-shape the bottom of the pencil. I used the tools and skills that I learned from the pencil to make the Mickey Mouse. I used a lot of circles and ovals to create this character. I used the white arrow to make the shape of Mickey’s tan face. To make the color on the nose I made a small white circle within the large black one and blended them together. To make some of his smile I used the paint tool.
19 Mar 2014
by dinamariemoss
in Uncategorized

This is my Photo Shop final. I decided to do a movie poster for the movie, The Great Gatsby. The photo includes a combination of selections, layer masks and text. The three actors and the Gatsby banner are all selections. The background of the mansion and the picture of the fireworks are both blended together using layer masks. The green light house is also a layer mask. The actor’s names are made by using the text tool with a background behind them. The two actors on the right and left are faded out by lowering the opacity.
19 Mar 2014
by dinamariemoss
in Uncategorized


These are my before and after photos of my retouching assignment. In class we learned how to use the patch tool, the stamp tool and the eraser tool. The tools that I found the most useful were the patch and the stamp. The patch tool allows you to circle a specific section and move the patch to the texture or piece of the picture that you want. The stamp tool allows you to select the piece of the picture you want and then cover another selection of the picture with the original spot that you selected. In each picture I cleaned up up some blemishes and added some selections to the photos.
19 Mar 2014
by dinamariemoss
in Uncategorized
 This is what we used in class to to learn how to do selections. As mentioned in my previous post about selections we learned how to use the magic pen tool, the quick selection tool and also how to used the paint tool to meticulously retrieve your selection. We also learned how to change the color of the markers along with flipping the number 5.
Previous Older Entries


Recent Comments